


Table of Contents
1. What Are Custom Post Types?
A WordPress POST is an individual piece of content that you create through the Dashboard or Admin Panel of WordPress. If you navigate to Posts -> Add New, you will be presented with a specific interface for creating a blog post, which includes options for adding text and media, publishing the post, and more.
BUT CUSTOM POST TYPES might be more accurately called CUSTOM CONTENT TYPES, as they aren’t just for Blogs. Either way, Any POST TYPE that is not included in WordPress by default. This means you can create more specific kinds of content, using the same WordPress editor.
Benefits Of Custom Post Types:
1. CUSTOM POST TYPES Can Make Your Website More Efficient And Easier To Manage.
2. CUSTOM Fields Eliminate Guesswork And Improve Task Organization.
3. CUSTOM POST TYPES Showcase Your Latest Offerings Or Most Glowing Testimonials This Is A Smart Way To Increase The Likelihood Of Conversions.
4. CUSTOM POST TYPES Can Make The Structure Of Your Site More Conducive To Conversions.
5. CUSTOM POST TYPES Is the Best Way To Make Your Site Dynamic.
Now that we’ve established the benefits of WordPress CUSTOM POST TYPES, let’s talk about how you can add them to your WordPress website. Fortunately, the process is quick, simple, and cost-effective. So Let’s Get Started.
2. How to Create a WordPress Custom Post Type Using a Plugin?
Step 1: Choose a Dedicated Plugin:
There are lots of WordPress CUSTOM POST TYPE plugins to choose from. Most present a HASSLE-FREE way to configure meta boxes, user-defined fields, and other key components of your post types. Since they are user-friendly and require no coding, these plugins are excellent time-savers that can be readily rolled out to your development team.
We, Will, Discuss Custom Post Type UI Plugin By WebDevStudios,
Custom Post Type UI provides an easy-to-use interface for registering and managing custom post types and taxonomies for your website.
While CPTUI helps solve the problem of creating custom post types, displaying the data gleaned from them can be a whole new challenge.
Custom Post Type UI Extended works with post types that you create, but when you use the shortcode builder, the plugin also works with data from any post type on your websites, such as post types created by plugins and extensions like WooCommerce and Easy Digital Downloads.
Simply select what you want to be displayed, and the shortcode builder creates a bit of code to make it happen. It’s a brilliant solution for non developers, who don’t know how to code, and a simple way to build out a store and promote your products.
Also read: Top 7 Reasons Why WordPress Site Need to be Mobile-Friendly?
Step 2: Install the Plugin and Configure Your Custom Post Type:
let’s walk through how to actually create a WordPress custom post type. We’ll use the Custom Post Type UI plugin to demonstrate the process, as it is simple to use while offering a lot of handy features.
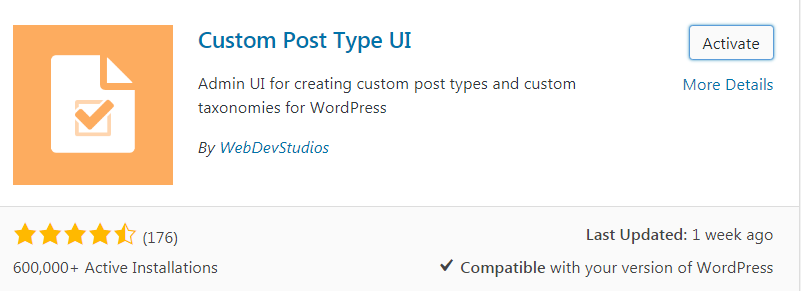
First, navigate to Plugins -> Add New in your WordPress dashboard, and search for Custom Post Type UI. When you find this plugin, you can click install now:

Then click activate to activate it:
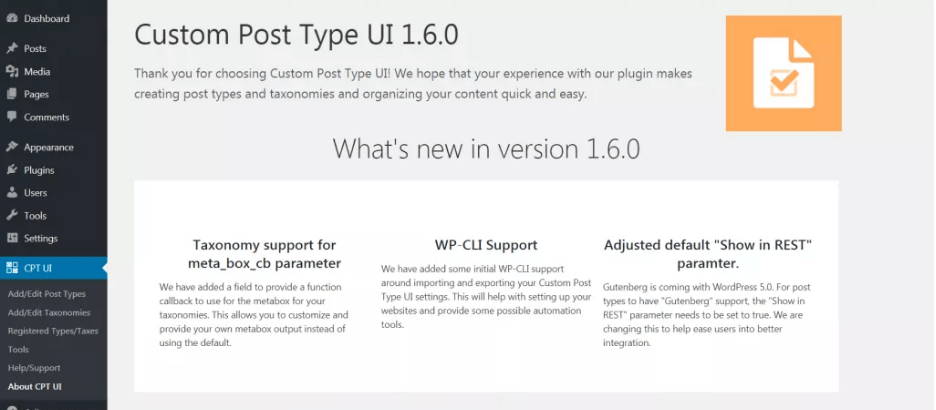
After that, you should see a new CPT UI tab in your dashboard.
Navigate to CPT UI -> Add/Edit Post Types then you can add CUSTOM POST TYPES:
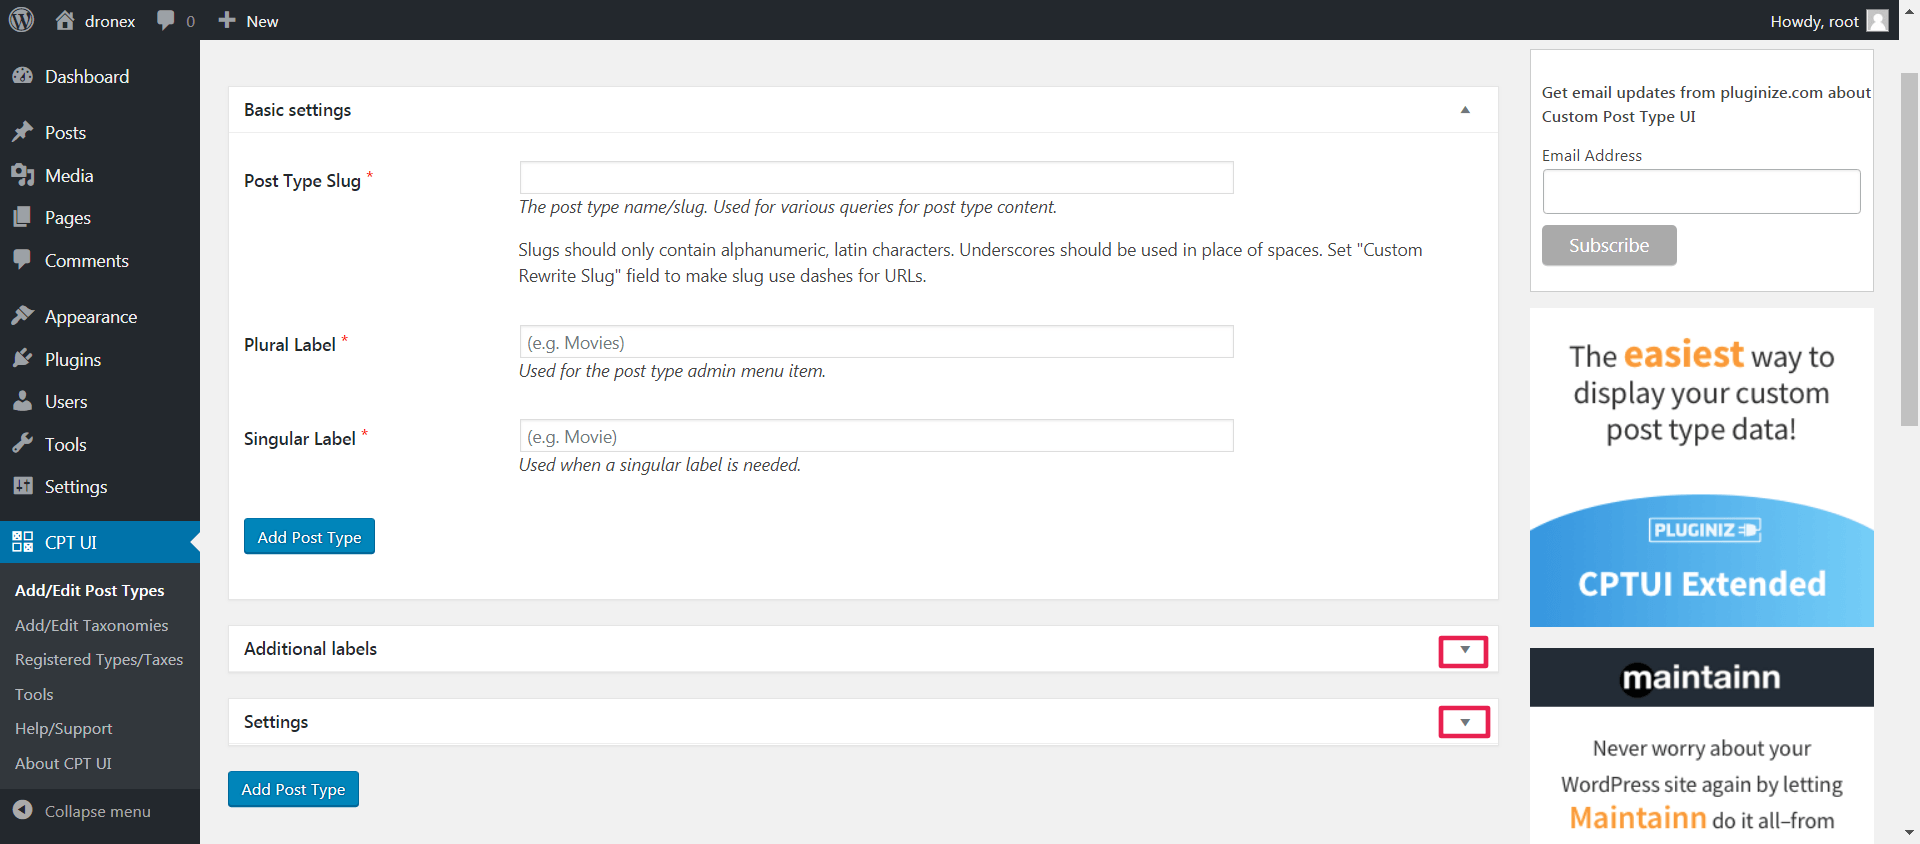
Now, you will be directed to a page called Edit Post Type. Here you can enter the post type’s URL slug and name (both for singular and plural usage), and configure how it looks on your site:

You can also assign attributes to your post type in the Additional labels menu. and configure your post type in the settings menu:
When you’re happy with how your custom post type is configured, you can publish it. First, decide where you want it to appear on your dashboard in the Save menu at the top of the page. Then select Save Post Type:
We haven’t yet mentioned how to create custom fields or taxonomies (in other words, how to add new fields and organization to your custom post type). To do that, navigate to CPT UI -> Dashboard. From there, you can create custom fields and taxonomies, by selecting those options for the post type you just created.
That’s it! Using the many options offered by CPT UI, you can give your development team the means to crank out custom content quickly and efficiently. CPT UI provides you a User-Interface with Handy Features to Configure/Create CUSTOM POST TYPES.
Also Read: Top WordPress Web Development Trends to Chase in 2021
Do You Have any Questions about Creating and Using CUSTOM POST TYPES?
Contact us.