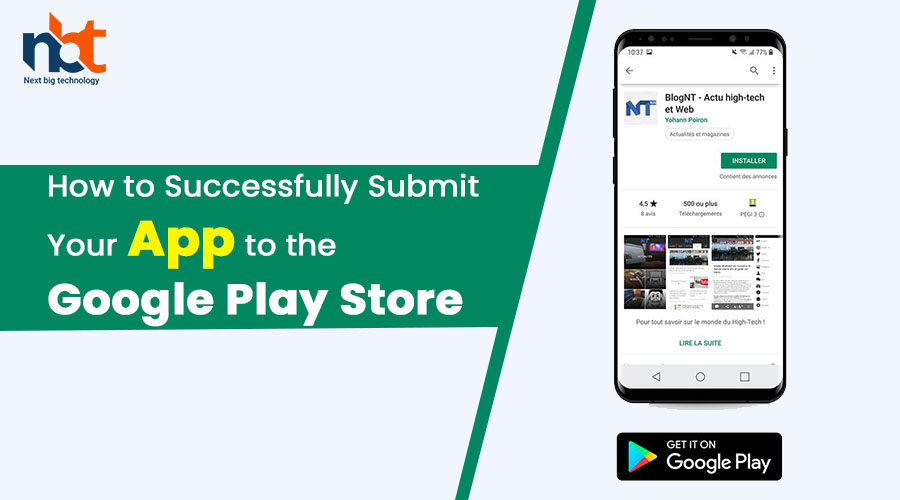
Introduction: Releasing your app on the Google Play Store is a crucial step in reaching a vast user base on Android devices. However, the process of submitting an app to the Play Store can seem complex and daunting, especially for first-time developers. In this blog, we will provide you with a step-by-step guide on how to successfully submit your app to the Google Play Store, ensuring a smooth and efficient release.
- Prepare Your App for Submission: Before submitting your app to the Google Play Store, make sure you have completed the following preparations:a. Testing and Debugging: Thoroughly test your app on various devices to ensure it functions properly and is free of bugs and crashes. Use debugging tools to identify and fix any issues.b. App Store Guidelines: Familiarize yourself with the Google Play Store’s Developer Program Policies and guidelines to ensure your app complies with all requirements, including content policies, privacy, and security guidelines.
c. Assets and App Information: Prepare the necessary assets such as app icons, screenshots, promotional images, and a compelling app description. These elements play a crucial role in attracting users and conveying the value of your app.
d. Developer Account: Create a Google Play Developer account if you haven’t already. Note that a one-time registration fee is required to publish apps on the Play Store.
- Generate a Signed APK or App Bundle: To publish your app on the Play Store, you need to generate a signed APK (Android Package) or an Android App Bundle, depending on your preference. Follow these steps:a. Build the App: Build a release version of your app using your preferred development environment, such as Android Studio or the command line tools.b. Generate a Keystore: Create a digital signing key or use an existing one to sign your app. This key ensures the authenticity and integrity of your app. Keep the keystore file and the passwords secure.
c. Sign the App: Use the generated keystore to sign your app. Android Studio provides a simple wizard to guide you through the process. If you prefer the command line, tools like jarsigner and apksigner can be used.
d. Verify the Signature: After signing, verify the app’s signature to ensure the signing process was successful. This step confirms that the app is ready for submission.
- Create a Google Play Console Listing: Now it’s time to create a listing for your app in the Google Play Console:a. Open the Google Play Console: Sign in to your Google Play Developer account and navigate to the Google Play Console.b. Create a New App: Click on “Create Application” and provide the necessary information, such as the app’s default language, title, and store listing details.
c. Upload Assets: Upload the app’s icon, screenshots, and promotional images. Ensure they meet the required specifications outlined by Google Play.
d. Write an App Description: Craft a compelling and informative app description that highlights the features, benefits, and unique selling points of your app. Make sure to use relevant keywords for discoverability.
e. Set Pricing and Distribution: Choose whether your app will be free or paid. Select the countries or regions where you want to make your app available.
- Complete the Content Rating Process: Google requires all apps to undergo the content rating process to ensure they comply with age-based content restrictions. Follow these steps:a. Answer Questionnaire: Answer a series of questions regarding the app’s content, including violence, nudity, gambling, and more. Based on your responses, Google will assign an appropriate content rating.b. Review and Confirm: Review the content rating assigned and make any necessary adjustments. Confirm that the rating accurately reflects the content of your app.
- Set Up App Pricing and Monetization: If you plan to monetize your app through in-app purchases or subscriptions, follow these steps:a. Set Up Payments: Configure your payment settings by providing your bank account details for receiving payments from Google Play. Determine the prices for your in-app purchases or subscriptions.b. Add Monetization Features: Implement the necessary code and API integrations to enable in-app purchases or subscriptions within your app.
- Release Your App to Production: Before submitting your app for review and release, ensure you have thoroughly tested the production version:a. Create a Release: In the Google Play Console, navigate to the “Release” section and create a new release for your app.b. Upload the APK or App Bundle: Upload the signed APK or App Bundle you generated earlier.
c. Provide Release Notes: Include release notes to inform users and potential reviewers about the changes and improvements in the new version.
d. Choose a Release Track: Select the desired release track (e.g., internal testing, closed or open testing, or production) based on your release strategy.
e. Submit for Review: Submit your app for review. The review process typically takes a few hours to a few days, during which Google ensures your app complies with all guidelines and policies.
f. Publish Your App: Once your app passes the review process, you can publish it on the Google Play Store, making it available to millions of users.
Conclusion: Submitting your app to the Google Play Store involves several important steps, from preparing your app and generating a signed APK or App Bundle to creating a listing, completing the content rating process, and releasing your app to production. By following this step-by-step guide, you can navigate the submission process successfully, ensuring your app meets all guidelines and requirements. Remember to continuously monitor user feedback, address any issues promptly, and update your app regularly to provide the best possible experience to your users.


