In today’s world, making mobile apps fast and for all platforms is key. Flutter, Google’s open-source tool, helps developers make top-notch apps for both iOS and Android. It uses one codebase, making app creation quicker, saving time, and ensuring apps work the same on all platforms.
Flutter stands out because it simplifies app making. It lets developers focus on creating great user experiences. With its wide range of widgets and tools, Flutter makes apps that are as good as native ones.
Table of Contents
Key Takeaways
- Flutter enables faster cross-platform mobile app development with a single codebase.
- The framework provides a comprehensive set of tools and libraries for building high-performance, visually appealing mobile applications.
- Flutter’s use of the Dart programming language streamlines the development process and ensures a consistent user experience across iOS and Android platforms.
- Developers can leverage Flutter’s extensive widget library and flexible architecture to create unique and engaging mobile app experiences.
- The framework’s growing popularity and strong community support make it a compelling choice for both startups and enterprise-level organizations.
Understanding Flutter Framework Fundamentals
The Dart programming language is at the heart of Flutter. It’s a modern, object-oriented language. Dart makes building mobile apps easy and fast.
Dart is simple and easy to learn. It compiles to native code, making apps run smoothly.
Dart Programming Language Basics
Dart’s syntax is like Java and JavaScript. This makes it easy for developers to start. It has features like type safety and asynchronous programming.
Dart also has a rich standard library. This helps developers work efficiently.
Flutter Widget System Architecture
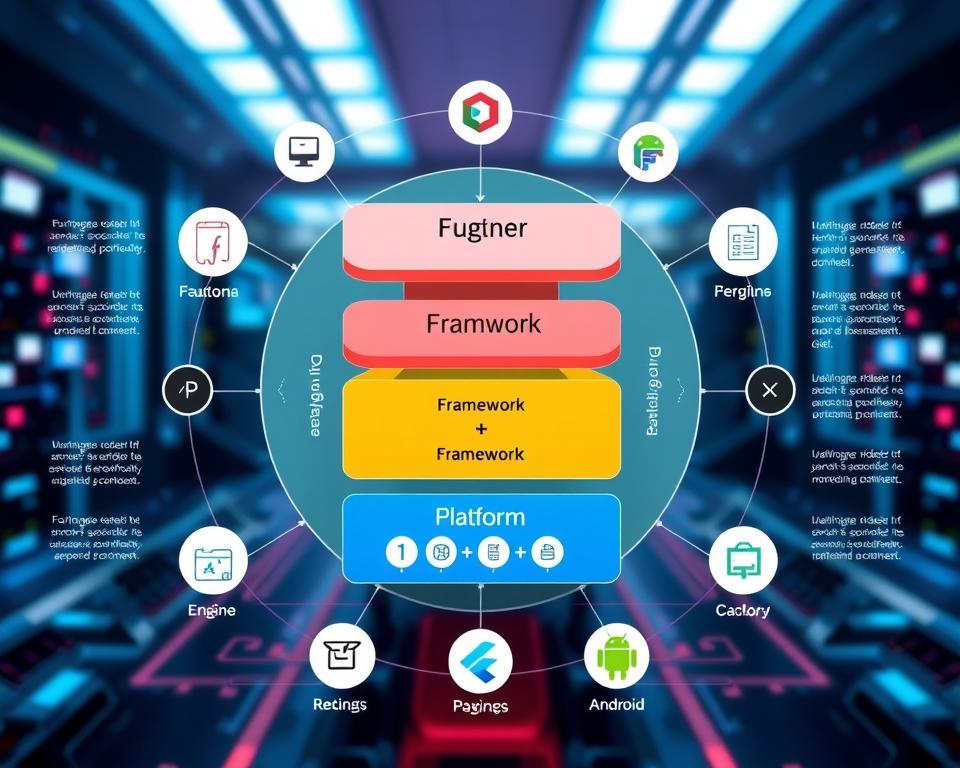
Flutter uses a widget-based UI. Widgets are the basic units of Flutter apps. They range from simple UI elements to complex components.
This approach lets developers describe the UI they want. They don’t have to worry about the underlying code.
Material Design and Cupertino Components
Flutter comes with UI components for both Material Design and Cupertino. This ensures apps look great on both Android and iOS. They have a consistent look and feel.
Learning these basics helps developers create top-notch mobile apps. These apps feel native on any platform.
Setting Up Your Flutter Development Environment
To make robust cross-platform apps with Flutter, you need a good setup. We’ll show you how to install the Flutter SDK, pick your IDE, and get your system ready for Flutter.
First, let’s get the Flutter SDK installed. Go to the Flutter website and follow the setup for your OS. You’ll download, extract, and add paths to your environment variables. After installing, check your setup with the Flutter doctor command. It makes sure your tools and dependencies are set up right.
Next, pick your IDE. You can choose between Android Studio and Visual Studio Code (VS Code). Both are great for Flutter, with lots of plugins and tools. Choose what you like best and set it up with Flutter for a smooth development flow.
| IDE | Advantages | Disadvantages |
|---|---|---|
| Android Studio |
|
|
| Visual Studio Code |
|
|
After setting up your tools, run the Flutter doctor command again. This checks if everything is ready for making Flutter apps.
“Setting up a robust Flutter development environment is the foundation for building high-performance, cross-platform applications.”
Essential Tools and Plugins for Flutter Development
Starting with Flutter? The right tools and plugins make a big difference. They help you work faster and better. You’ll find everything you need on pub.dev.
IDE Configuration and Extensions
First, pick your IDE. Android Studio and Visual Studio Code are top choices. They have extensions for formatting, linting, and code completion. These tools save time and make coding easier.
Must-Have Flutter Packages
Pub.dev has many useful Flutter packages. They help with state management, network requests, and UI components. Using these packages makes your app better and saves time.
Development Tools and Debugging Solutions
Special tools like Flutter DevTools are also important. They help with performance, debugging, and hot reload. This lets you test and improve your app quickly.
| Tool/Plugin | Description | Key Features |
|---|---|---|
| Android Studio | Integrated Development Environment (IDE) for Android app development | Code editing, debugging, testing, and deployment tools |
| Visual Studio Code | Versatile code editor with support for a wide range of programming languages | Intelligent code completion, code formatting, and a rich ecosystem of extensions |
| Flutter DevTools | A suite of developer tools for Flutter apps | Performance profiling, debugging, and hot reload functionality |
Using these tools and plugins makes Flutter development easier. You’ll work faster and create better apps. Learning these tools is key to being a great Flutter developer.
Creating Your First Flutter Application
Start your journey in Flutter development by making your first app. We’ll cover the basic project structure, the main.dart file, and the difference between stateless and stateful widgets.
First, let’s look at the Flutter project structure. A Flutter project has many directories and files. The main.dart file is where your app starts. Here, you define your app’s initial state and set up the widget tree.
The main.dart file is crucial for your Flutter app. It’s where you write code to start your app and build the UI. You’ll use a MaterialApp or CupertinoApp widget as the app’s root. This widget provides the app’s structure.
In the widget tree, you’ll find stateless and stateful widgets. Stateless widgets don’t change once created. They’re good for static content. Stateful widgets can change and update based on user input.
As you get better at Flutter, you’ll learn to build UIs, handle user input, and add basic functions. Mastering these basics will help you create more complex Flutter apps.
Flutter Widget State Management Techniques
Managing state effectively is key to making Flutter apps scalable and responsive. In Flutter, there are many ways to manage state, each with its own benefits. Let’s look at three popular methods: Provider, Bloc, and GetX.
Provider Pattern Implementation
The Provider pattern is a simple yet effective way to manage state in Flutter. It uses dependency injection to share state data with widgets, supporting reactive programming. It’s perfect for small to medium projects with simple state needs.
Bloc Pattern Architecture
The Bloc pattern is a popular choice for managing state in Flutter. It keeps business logic separate from the UI, following reactive programming. This makes it easy to scale and maintain your app’s state.
GetX State Management
GetX is a lightweight and powerful tool for managing state. It combines state management, dependency injection, and route management in one package. Its easy-to-use API makes it a favorite for many developers.
Choosing the right state management approach depends on your app’s complexity, team size, and future maintenance needs. Knowing the strengths and use cases of Provider, Bloc, and GetX helps you pick the best fit for your project. This ensures your Flutter app is scalable and easy to maintain.
Building Responsive UI Layouts in Flutter
In mobile app development, responsive design is key for great user experiences. Flutter, a powerful cross-platform framework, offers tools and techniques for adaptive layouts. These layouts adjust to different screen sizes and orientations.
The LayoutBuilder widget is a key feature in Flutter. It lets developers create custom layouts that fit the screen space. This ensures UI elements are optimized for each device. Using LayoutBuilder, developers can make responsive design solutions that work well on many devices.
Building adaptive layouts in Flutter also involves the MediaQuery class. It gives info on the device’s screen size, orientation, and more. This info helps developers decide on the layout and UI elements.
Flutter also has a wide range of customizable widgets. These can be adjusted for specific device characteristics. By using screen size optimization techniques like LayoutBuilder and MediaQuery, developers can create responsive design experiences. These experiences meet the diverse needs of users.
| Technique | Description | Benefits |
|---|---|---|
| LayoutBuilder | A widget that provides the current layout constraints and allows for the creation of custom, responsive layouts. | Enables developers to build adaptive UI layouts that adjust to various screen sizes and orientations. |
| MediaQuery | A class that provides information about the device’s screen size, orientation, and other relevant properties. | Allows developers to make informed decisions about the layout and UI elements based on the device’s characteristics. |
| Custom Widgets | Developers can create their own widgets that are tailored to specific device characteristics and responsive design requirements. | Provides a high degree of flexibility and control over the UI layout, ensuring an optimal user experience across a wide range of devices. |
By mastering these responsive design techniques, Flutter developers can create adaptive layouts. These layouts provide a seamless and engaging user experience, no matter the device. This level of screen size optimization is crucial in today’s diverse mobile landscape. Users expect apps to adapt and perform well on many devices.
How to Develop Apps with Flutter for Faster Cross-Platform Development
Flutter has changed the game for creating high-performance, cross-platform mobile apps. It’s a powerful open-source framework that lets developers make stunning and responsive apps for both iOS and Android. To get the most out of Flutter, following best practices, optimizing code, and monitoring performance is key. We’ll explore the essential strategies for success in Flutter development.
Development Best Practices
Building scalable and maintainable Flutter apps starts with a solid development workflow. Here are some best practices to keep in mind:
- Stick to the Flutter style guide and coding conventions for a consistent and organized codebase.
- Use widgets and the Flutter widget tree to create modular and reusable UI components.
- Implement effective state management techniques, such as the Provider pattern or the Bloc pattern, to manage the application’s state efficiently.
- Follow the principle of separation of concerns, keeping business logic separate from the presentation layer for better testability and maintainability.
Code Optimization Strategies
Optimizing your Flutter code is crucial for a smooth and responsive user experience. Here are some strategies to consider:
- Minimize the use of expensive widgets, such as those with complex animations or layouts, to improve overall performance.
- Use Flutter’s built-in performance optimization features, such as RenderObject and LayoutBuilder widgets.
- Implement lazy loading techniques for content-heavy screens to reduce initial load times and improve perceived performance.
- Utilize platform-specific code, such as native modules, to integrate with device hardware and APIs for enhanced functionality.
Performance Monitoring Tips
Monitoring your Flutter app’s performance is key to identifying and addressing bottlenecks. Here are some tips to help you stay on top of your app’s performance:
| Tool | Description |
|---|---|
| Flutter DevTools | A powerful suite of tools provided by the Flutter team, including a performance profiler, memory diagnostics, and more. |
| Dart Profiler | A profiling tool that helps you identify performance issues in your Dart code, such as excessive CPU usage or memory leaks. |
| Firebase Performance Monitoring | A comprehensive solution for tracking and analyzing the performance of your Flutter app in real-time, including metrics like load times and user engagement. |
By following these best practices, optimizing your code, and monitoring your app’s performance, you can unlock Flutter’s full potential. This will help you deliver exceptional cross-platform experiences to your users.
Integrating Native Features and APIs
Starting your Flutter app development, you might need to add native features and third-party SDKs. Flutter’s platform channels make it easy to connect your code with native code. This lets you use device features and third-party services.
Flutter is great because it simplifies platform-specific issues. You can write one codebase that works on iOS and Android. But sometimes, you need to use native device features or third-party SDKs not supported by Flutter.
Utilizing Platform Channels
Flutter’s platform channels are a strong tool for adding native code to your app. They let you talk to native code from your Dart code. This way, you can use platform-specific features like:
- Camera and image capture
- Geolocation and GPS
- Sensor data (accelerometer, gyroscope, etc.)
- Biometric authentication (fingerprint, face ID)
- Push notifications and in-app messaging
With platform channels, you can easily add native code integration to your Flutter app. This makes sure your app works well on all platforms.
Integrating Third-Party SDKs
You might also need to add third-party SDKs to your Flutter app. These SDKs offer special services or features. Flutter’s platform channels help you connect your Dart code with these external platform channels.
Whether it’s for payment, analytics, or push notifications, Flutter makes it easy. You can add these device features and third-party SDKs smoothly. This ensures a great user experience on all platforms.
“Flutter’s platform channels empower developers to unlock the full potential of their applications by seamlessly integrating native features and third-party services, ensuring a truly cross-platform experience.”
Testing and Debugging Flutter Applications
Creating top-notch Flutter apps needs a solid testing plan. This plan makes sure your app works well, performs well, and feels great to use. The Flutter testing framework offers many tools and methods to build a strong testing setup for your project.
Unit Testing Strategies
Unit testing is key to your testing plan. It checks if each Flutter widget and its code work right. Writing unit tests helps find bugs early and makes sure your app’s main parts work as they should.
Integration Testing Methods
Integration tests look at how different parts of your Flutter app work together. They mimic real user actions, making sure your app’s UI, logic, and data flow work smoothly together.
Performance Testing Tools
It’s vital to make your Flutter app fast and smooth for users. Performance testing tools, like Flutter’s profiling feature, find and fix slow spots. This ensures your app runs well on many devices and platforms.
Using the Flutter testing framework lets you build apps with confidence. You can test, debug, and optimize your app for the best user experience.
“Thorough testing is the key to delivering high-quality Flutter applications that delight users and stand the test of time.”
Flutter App Deployment and Release Management
Creating a great mobile app is just the start. The real challenge is deploying it to the app store and managing updates. This guide will help you prepare your Flutter app for the Google Play Store and Apple App Store. It also covers continuous integration and release automation for easy app deployment.
Preparing for App Store Submission
Before your Flutter app goes live, you must prepare it for the app stores. This means:
- Checking if your app follows the platform’s rules and guidelines
- Writing a catchy app description and creating eye-catching visuals
- Adding important details like app icons, screenshots, and promotional materials
- Setting up the app’s release settings, pricing, and distribution options
Continuous Integration and Deployment Strategies
To make app release management easier, use continuous integration and release automation. This includes:
- Creating a reliable build pipeline for automatic app binary generation
- Connecting with app store APIs for easy app submissions
- Adding automated testing and quality checks
- Deploying app updates with little manual effort
These strategies help you manage releases smoothly. This way, you can update your app quickly and efficiently.
“Successful app deployment is not just about the app itself; it’s about the entire ecosystem that supports it.”
The app launch is just the beginning. Keeping your app updated and engaging users is key for success. By mastering app deployment and release management, you’ll create a popular mobile app.
Optimizing Flutter App Performance
Developers know how crucial app performance is in today’s mobile world. Flutter offers ways to make apps run well. We’ll look at memory management and resource optimization strategies.
Memory Management Techniques
Memory leaks slow down Flutter apps over time. To fix this, we use certain techniques:
- Use WidgetsBinding.instance.addPostFrameCallback to clean up resources when widgets are gone.
- Apply lazy loading for assets, images, and data to cut down initial memory use.
- Use SizedBox to manage child widget sizes, avoiding extra memory use.
Resource Optimization Strategies
We can also make our Flutter apps use fewer resources for better performance optimization. Here are some ways:
- Use image optimization like CachedNetworkImage to shrink image sizes and load times.
- Choose SliverAppBar and SliverList for smooth scrolling in big data interfaces.
- Employ AnimatedWidget and AnimatedBuilder for smooth animations, avoiding memory leaks.
By using these methods, you can make Flutter apps that are not just good-looking but also fast and responsive. This ensures users have a great experience.
Common Flutter Development Challenges and Solutions
Building mobile apps with Flutter is exciting but comes with challenges. As a Flutter developer, you might face issues like platform-specific problems, error handling, and troubleshooting. But, with the right strategies and support, you can overcome these hurdles.
Handling platform-specific issues is a common challenge. Flutter’s cross-platform benefits are great, but Android and iOS have their own problems. Keeping up with Flutter’s latest documentation and community forums helps you solve these issues quickly.
Good error handling is key in Flutter development. Unexpected errors can upset users. By using strong error handling, you can manage these issues well. The Flutter community has many resources, like detailed guides on troubleshooting, to help you.
The Flutter community is also a big help. By connecting with other Flutter developers, you gain a lot of knowledge. Join online forums, go to meetups, and work on open-source projects to stay in touch with the community.
| Common Flutter Development Challenges | Potential Solutions |
|---|---|
| Platform-specific issues |
|
| Error handling and troubleshooting |
|
| Leveraging community support |
|
By tackling these challenges with technical skills, community involvement, and a problem-solving attitude, you can create amazing Flutter apps. These apps will make your users happy.
“The key to successful Flutter development is not just technical knowledge but also a willingness to learn from the community and tackle challenges with a creative and persistent approach.”
Flutter App Security Best Practices
As Flutter’s popularity grows, keeping your apps safe is key. This includes app security, data encryption, secure storage, and API protection. Following best practices is vital for secure apps.
Secure Data Storage and Encryption
Protecting user data is a big concern in Flutter app development. Use strong data encryption to keep sensitive info safe. Choose secure storage like Flutter Secure Storage or platform-specific solutions to reduce data breach risks.
Secure API Communication
When your Flutter app talks to backend APIs, use API protection wisely. Encrypt with SSL/TLS and add extra security like OAuth 2.0 or API keys. This keeps your app security strong.
Input Validation and Sanitization
Always check and clean user inputs to avoid security threats. Use input validation to keep your app safe from SQL injection or XSS attacks. This ensures your app’s app security is top-notch.
Secure Code Practices
Use secure coding in your Flutter app development. This means code obfuscation, avoiding hardcoded secrets, and keeping dependencies up to date. This helps prevent security issues.
By sticking to these app security, data encryption, secure storage, and API protection best practices, you can make Flutter apps that are safe and protect user data well.
Conclusion
As we wrap up our look at Flutter, we see its power in cross-platform app making. Its growing use shows it makes app development easier and better. It works well on both iOS and Android.
Flutter’s appeal comes from its ability to help developers work on many platforms at once. This means they can make apps for different systems quickly and with less effort. It helps businesses reach more people and keep their brand look the same everywhere.
Flutter’s future looks bright, thanks to Google’s ongoing support. It’s getting better and will likely be key in app development soon. Developers who use Flutter will be ready for new challenges and meet user needs better than ever.


